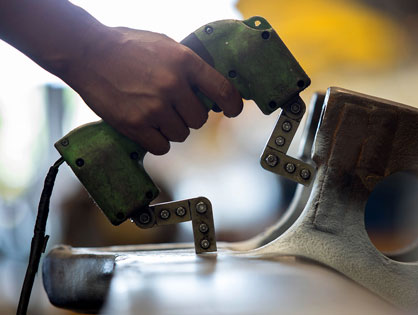
Ultrasonic Test
Ultrasonic testing (UT) is a family of non-destructive testing techniques based on the propagation of ultrasonic waves in the object or material tested. In most common UT applications, very short ultrasonic pulse-waves with center frequencies ranging from 0.1-15 MHz, and occasionally up to 50 MHz, are transmitted into materials to detect internal flaws or to characterize materials. A common example is ultrasonic thickness measurement, which tests the thickness of the test object, for example, to monitor pipe work corrosion.
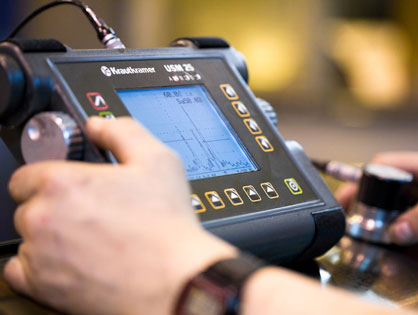
Hardness Test
Hardness measures the resistance of a sample to material deformation due to a constant compression load from a sharp object. The tests work on the basic premise of measuring the critical dimensions of an indentation left by a specifically dimensioned and loaded indenter. We are measuring hardness on Rockwell, Vickers & Brinell scales.
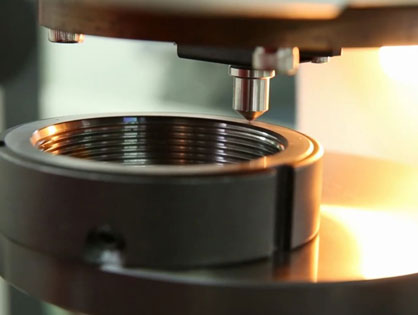
Bend Test
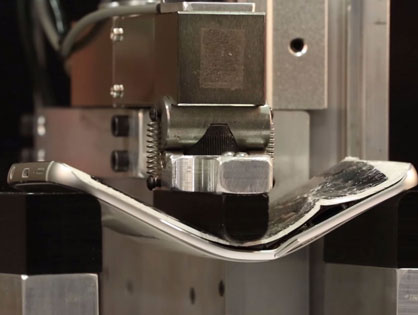
Bend tests deform the test material at the midpoint causing a concave surface or a bend to form without the occurrence of fracture and are typically performed to determine the ductility or resistance to fracture of that material.
IGC Test
Intergranular corrosion (IGC) testing is the only corrosion test performed as a standardized pre-delivery test. Intergranular corrosion in stainless steels may result from precipitation of carbides, nitrides or intermetallic phases. Only in the most highly oxidizing solutions can intergranular attack be caused by intermetallic phases. When a test is to be restricted to carbides, in a material containing nitrides or intermetallic phases, a less oxidizing solution is chosen. We are performing different IGC test practices as per the ASTM A262 specification.

PMI TEST
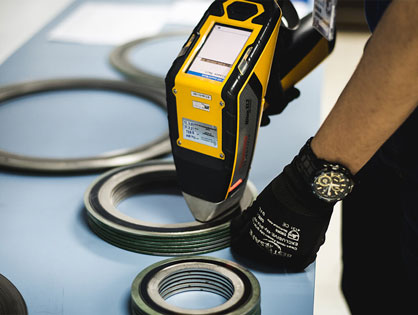
To ensure the same quality of material we are dispatching as required by the customer, PMI test has been performed on every single piece. PMI (Positive Material Identification) testing is the analysis of materials to determine the chemical composition of a metal or alloy at particular (usually multiple) steps of alloy manufacturing or in-process alloy installation.
Impact Test
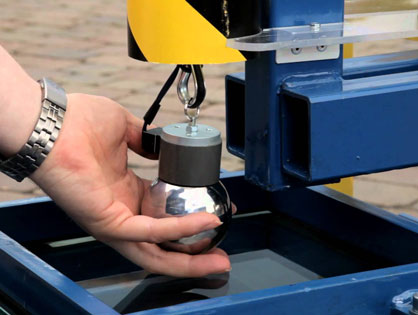
The purpose of impact testing is to measure an object’s ability to resist high-rate loading. It is usually thought of in terms of two objects striking each other at high relative speeds. A part or material’s ability to resist impact often is one of the determining factors in the service life of a part, or in the suitability of a designated material for a particular application. Impact testing most commonly consists of Charpy and IZOD Specimen configurations.
Tensile Test
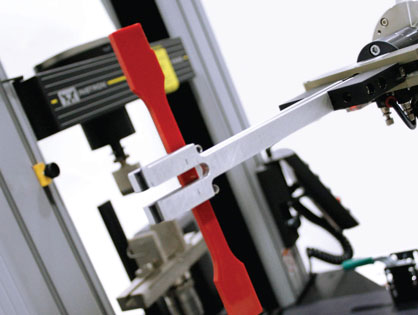
Tensile Test in which a sample is subjected to a controlled tension until failure. The results from the test are commonly used to select a material for an application, for quality control, and to predict how a material will react under other types of forces. Properties that are directly measured via a tensile test are ultimate tensile strength, maximum elongation and reduction in area.
Magnetic Particle Inspection
Magnetic particle Inspection (MPI) is a non-destructive testing (NDT) process for detecting surface and slightly subsurface discontinuities in ferromagnetic materials such as iron, nickel, cobalt, and some of their alloys. The process puts a magnetic field into the part. The piece can be magnetized by direct or indirect magnetization. Direct magnetization occurs when the electric current is passed through the test object and a magnetic field is formed in the material. Indirect magnetization occurs when no electric current is passed through the test object, but a magnetic field is applied from an outside source. The magnetic lines of force are perpendicular to the direction of the electric current which may be either alternating current (AC) or some form of direct current (DC) (rectified AC).
